In this article
- How to decide what belongs on the countertop
- 1. Put useful vertical wall space to work
- 2. Use the space beneath cabinet shelves
- 3. Add adjustable risers to deep cabinets
- 4. Use a turntable for items that hide at the back
- 5. Give kitchen drawers clear zones
- 6. Keep everyday cooking tools accessible
- 7. Make under-sink storage easy to remove
- 8. Try removable hooks or a suitable rail
- 9. Group pantry staples by meal or use
- 10. Create a reliable meal-prep zone
- 11. Stand cutting boards and baking trays upright
- 12. Give narrow cabinets a specific job
- 13. Use stackable containers selectively
- 14. Move occasional appliances off the counter
- 15. End the day with a quick counter reset
- Storage ideas suitable for renters
- Small kitchen organization mistakes
When a kitchen is short on counter space, every mug, appliance and packet seems to land on the one clear patch you need for dinner. More organizers will not help unless they give frequently used items a sensible home. Begin by deciding what must stay within reach, then use cabinets, drawers and walls according to what they can safely hold. These small kitchen organization ideas focus on freeing a real prep area, making stored things visible and keeping the setup easy to reset. Most can be adapted to rentals and ordinary fitted kitchens without a renovation.
How to decide what belongs on the countertop
Clear the counter once and sort everything into daily use, occasional use and items that belong elsewhere. A kettle or coffee maker may earn a permanent place if you use it every morning; an appliance used twice a month probably does not. Leave a continuous area where you can prepare food and put down a board. Keep anything combustible away from the hob and follow each appliance’s ventilation and clearance instructions. The National Fire Protection Association’s cooking guidance specifically advises keeping items that can catch fire away from the stove. A neat display is never worth losing a safe work zone.
1. Put useful vertical wall space to work
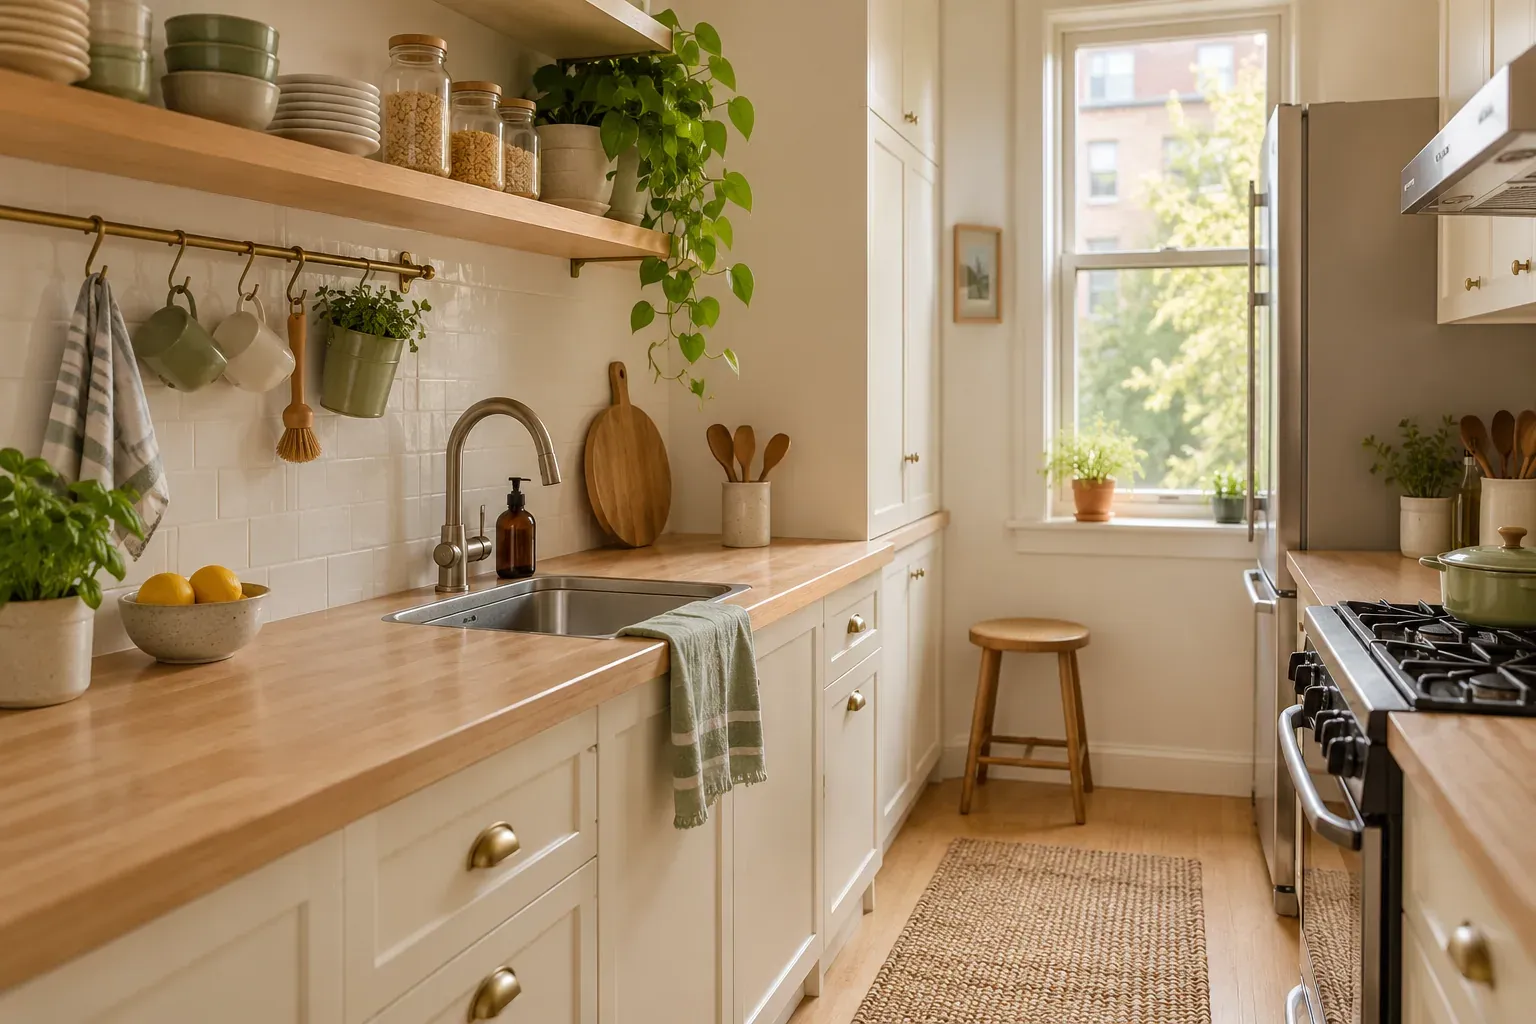
An empty wall section can hold a short shelf or rail for lightweight, frequently used things. Place it where you can reach without leaning across a burner or sink. Keep the shelf shallow enough that it does not crowd your head or the counter below, and group items by task: mugs near the tea station, for example, or measuring tools near food prep.
Wall storage needs fixings suited to the wall and the intended load. In a rental, a freestanding narrow shelf may be easier than drilling. Avoid hanging objects over cooking heat, blocking ventilation or placing breakables where a cupboard door can hit them.
2. Use the space beneath cabinet shelves
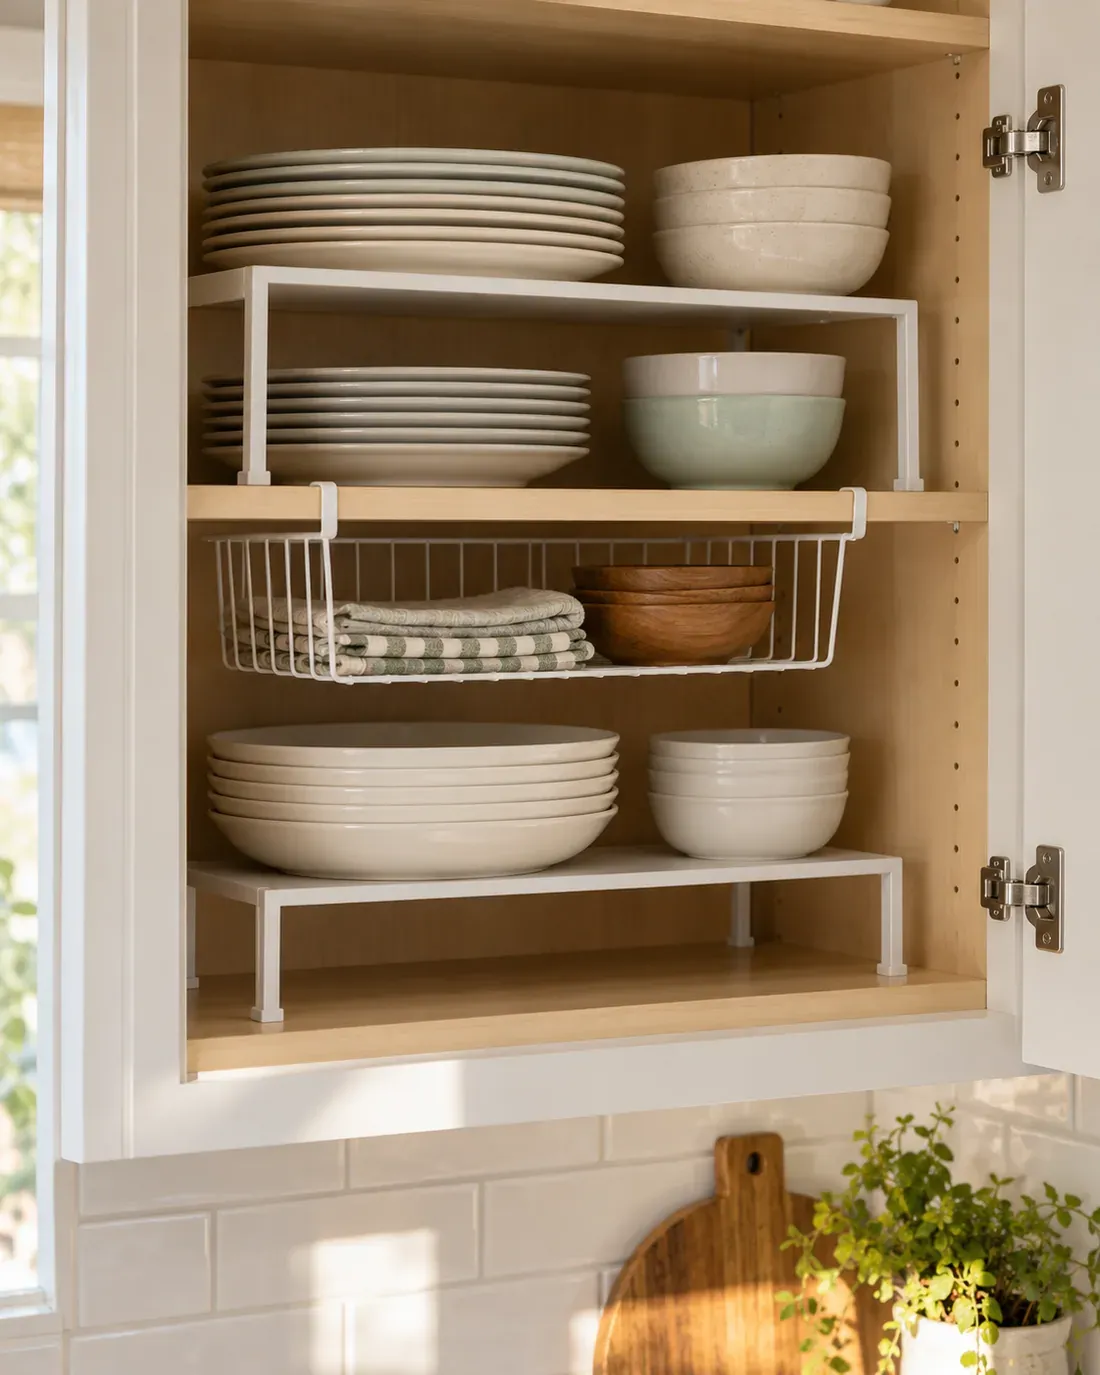
An under-shelf basket can turn a tall gap into a home for wraps, cloths or lightweight packets. Measure the shelf thickness and the clearance to the items below; a basket that hangs too low makes the shelf frustrating to use. Choose one that slides on securely and does not pull forward when you remove something.
These organizers suit light, flat items best. Do not load them with heavy jars or pans unless the product and cabinet can support that weight. If you already have a fitted shelf with very little vertical gap, leave it alone and organize by category instead.
3. Add adjustable risers to deep cabinets
When plates, bowls or canned goods form tall stacks, the lower items become awkward to reach. A sturdy shelf riser creates a second visible level. Adjustable types can fit around dishes or the height of pantry packages without wasting space. Put heavier objects on the cabinet’s original shelf and lighter pieces on the riser.
Before buying, measure the cabinet’s interior depth, usable height and door clearance. A riser should leave enough room to lift items out without scraping the shelf above. If a cabinet is already shallow, a simple rearrangement may be more effective than adding hardware.
4. Use a turntable for items that hide at the back
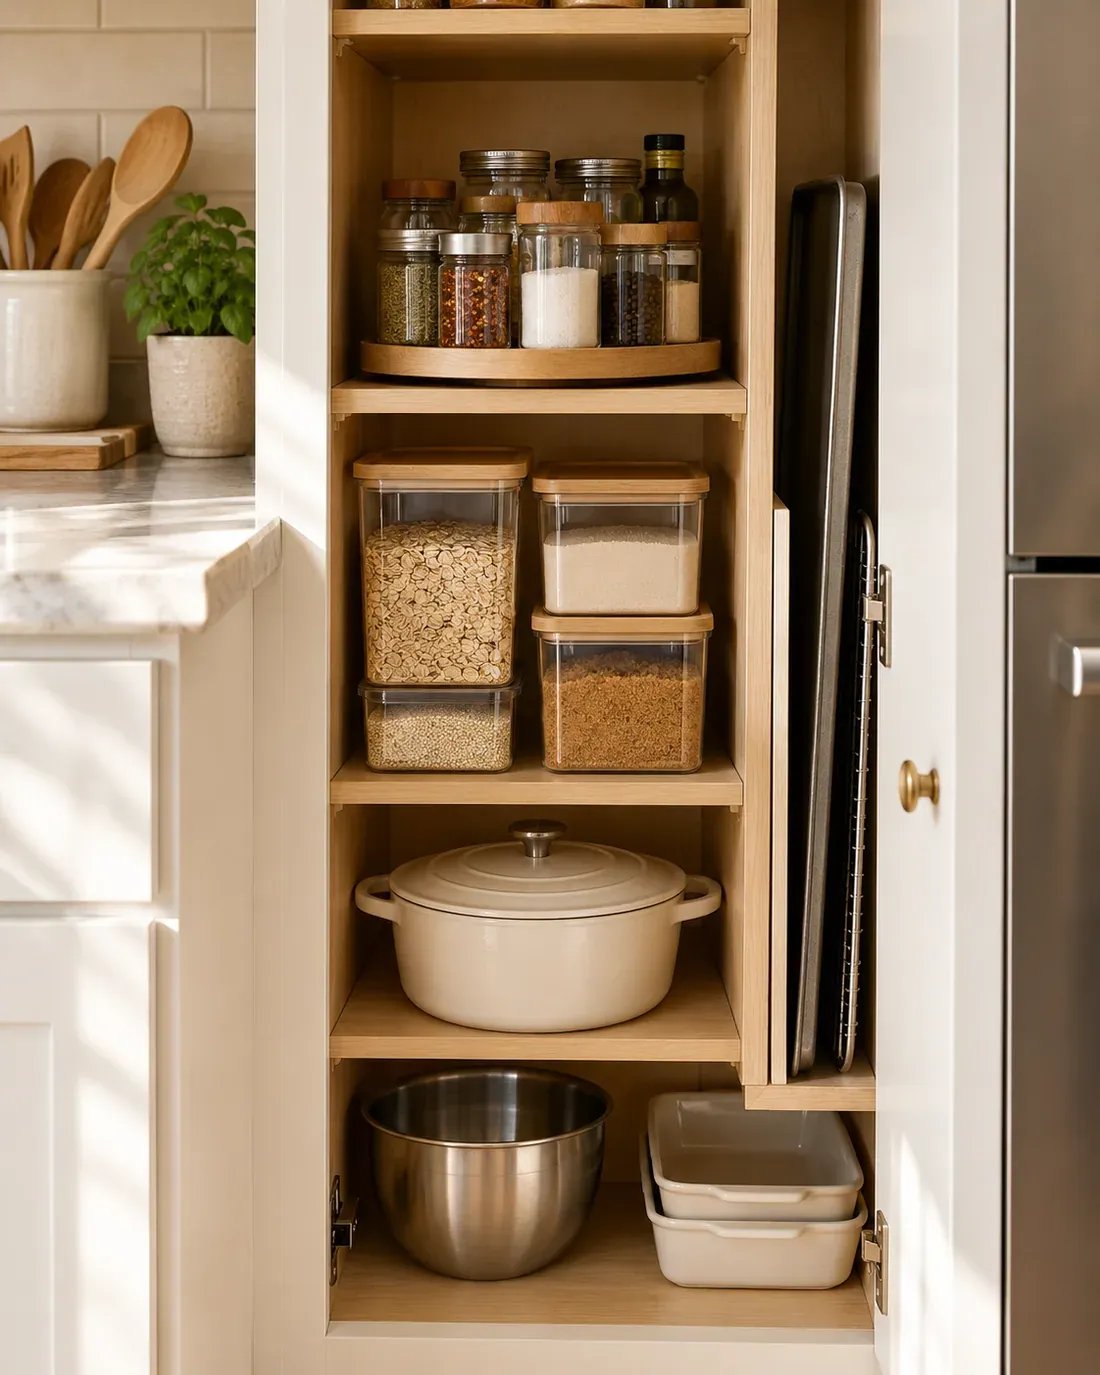
A turntable makes oils, sauces or small pantry jars easier to see in a deep cabinet. Group items used for the same task and give the tray room to rotate without knocking neighboring containers. A raised edge helps keep small bottles from falling, but check that tall bottles will clear the shelf above.
Turntables are less useful for large, heavy bags or a cabinet whose door opening is narrower than the tray. Measure the opening, not only the inside width. Keep cooking oils away from heat and light as directed on their packaging rather than placing a display beside the hob.
5. Give kitchen drawers clear zones
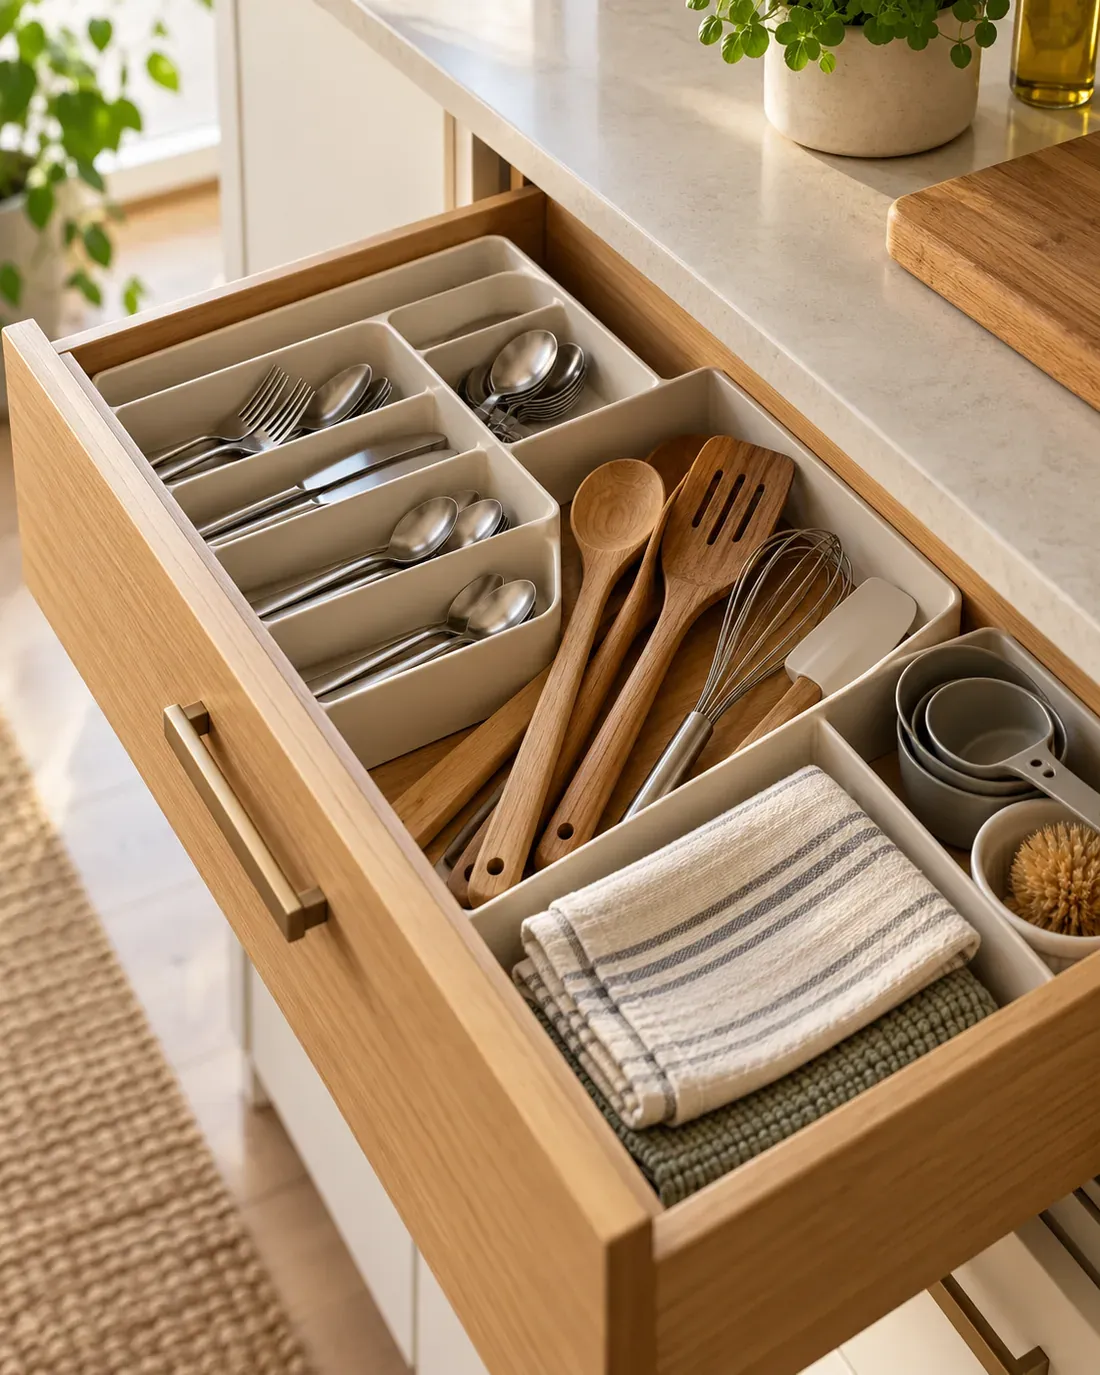
Drawers can store much more effectively when tools are grouped by use. Keep the everyday spatula, tongs and can opener in one section, baking tools in another, and rarely used gadgets farther back. Low dividers or small bins stop narrow utensils from sliding into a pile. A drawer near the prep area should hold what you reach for while cooking, not every gadget you own.
Measure the inside height before adding trays. Handles and lids can catch even if a divider appears to fit from above. Put heavier tools where the drawer is designed to bear them, and leave enough space that the drawer closes freely.
6. Keep everyday cooking tools accessible
The most useful tools should be easy to retrieve with one hand. A compact utensil pot can work if it holds only daily tools; too many handles make it hard to pull out the one you need. A nearby drawer or a short rail can be a better choice if counter space is especially scarce.
Think about the entire motion of cooking. Keep tools near the work area, but away from flames, hot elements and moving cupboard doors. Washable storage is helpful because grease and steam reach exposed items. Move anything used weekly or less out of the prime-access spot.
7. Make under-sink storage easy to remove
The cabinet beneath a sink has awkward pipes and can be damp, so organize around those realities. A removable caddy for cleaning products lets you pull everything forward rather than reaching around plumbing. Keep a separate space for bin liners or cloths and leave the shutoff valves accessible. Wipe the cabinet dry and deal with leaks before adding storage.
Never block access to plumbing with a fixed unit. Store chemicals according to their labels and away from children and pets. A low tray can contain small drips, but it is not a substitute for repairing a leak. Measure pipe positions before ordering a pull-out organizer.
8. Try removable hooks or a suitable rail
Hooks can move oven mitts, a light towel or measuring cups off the counter. Position them on an appropriate surface and within comfortable reach, while keeping textiles away from the hob. A rail under a cabinet can work well for small tools if it is secured correctly and does not obstruct preparation below.
Removable does not mean unlimited load. Follow the hook maker’s weight, moisture and surface guidance, and test the location before hanging anything breakable. In a rental, a hook on the side of a freestanding shelf may be more reliable than adhesive on a textured wall.
9. Group pantry staples by meal or use
Flour beside baking ingredients, pasta near sauces and breakfast food in one area are easier to maintain than a shelf arranged only by package height. Put older food toward the front when restocking so it is used first. Bins can contain small packets, but leave labels and dates visible or mark them clearly.
Do not decant everything just for a uniform look. Original packaging often carries cooking directions, dates and allergen information. If a container genuinely solves a spilling or stacking problem, label its contents and keep relevant information. A pantry that helps you cook is more valuable than one that photographs perfectly.
10. Create a reliable meal-prep zone
Give your main preparation area a board, a nearby knife drawer or block, and access to the ingredients used most often. Keep that stretch of counter free from incoming mail and decorative collections. If the only generous surface sits beside the sink, a draining rack that folds away after dishes can restore useful space.
This zone does not need to be large, but it should be clear enough to work without moving objects each time. Consider where food, washing and cooking happen in your actual kitchen. A compact setup that follows your routine will beat a rigid layout borrowed from a larger room.
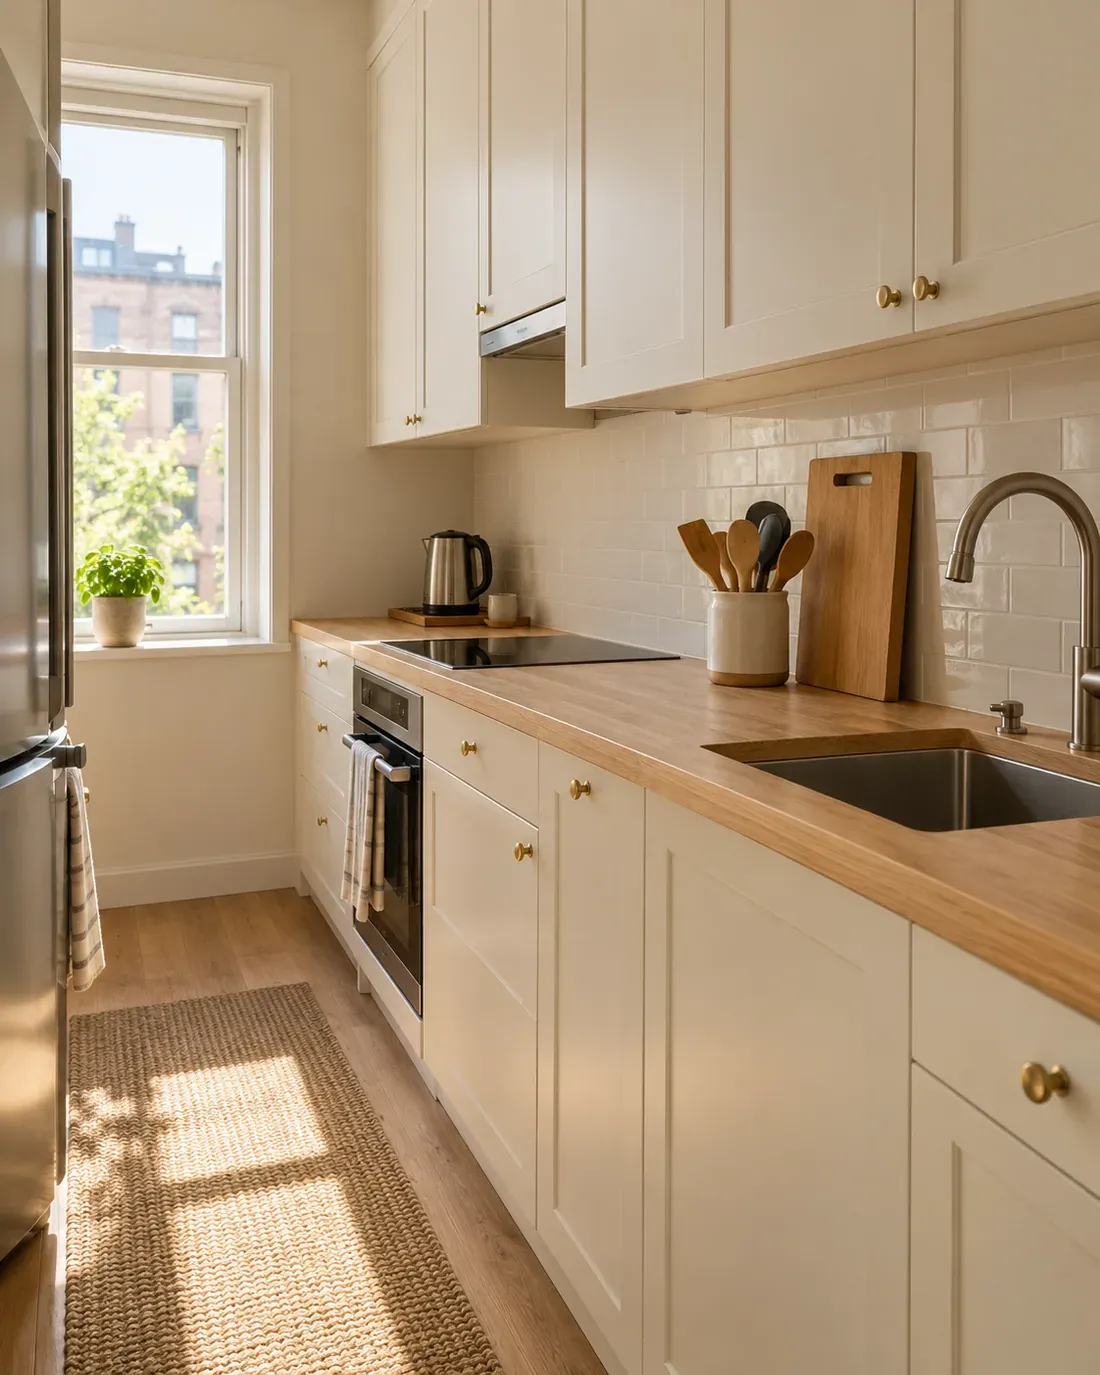
11. Stand cutting boards and baking trays upright
Flat boards and trays are hard to retrieve from the bottom of a stack. A vertical divider in a lower cabinet lets you slide out one piece without lifting the rest. Sort by height and thickness so oversized trays do not lean against the door. A simple tension-style rack may work where permanent dividers are not suitable.
Leave space for air circulation when storing boards after washing; they should be clean and dry first. Check that handles do not catch the hinges. This solution is especially useful in a narrow lower cabinet that cannot fit a broad shelf arrangement.
12. Give narrow cabinets a specific job
A narrow cabinet can become storage for spice jars, trays, food wraps or cleaning cloths rather than a place where unrelated items disappear. Choose one category and match the organizer to it. Pull-out units can improve access, but check the cabinet frame, hinges and available depth before installing one.
In a very small apartment, it is tempting to fill every gap. Leave room to grip what is stored and to clean the space. A slim cabinet is only useful if its contents can be seen and returned easily. The same principle helps when planning furniture in a studio apartment.
13. Use stackable containers selectively
Stacking containers can save space for dry goods, leftovers or lunch supplies when their sizes genuinely match the shelf. Pick a few compatible shapes rather than a large set of mismatched tubs. Keep the most-used container on the easiest level, and avoid a stack so tall that you have to unbuild it to reach dinner.
For food, choose containers appropriate to the intended use and follow their cleaning and heating instructions. Store lids together, ideally upright in a small bin. Clear sides can help identify contents, but a simple date label is still useful for prepared food.
14. Move occasional appliances off the counter
If a mixer, blender or toaster is not used daily, consider a cabinet or accessible shelf. Before moving it, check its weight and whether you can lift it safely. Heavy appliances should live low enough to retrieve without reaching overhead. Frequently used devices may reasonably stay out; the goal is a clear work zone, not an empty show kitchen.
Do not operate an appliance inside a closed cabinet unless its instructions explicitly permit it. Respect ventilation, cord and heat clearances. If several devices serve the same rare task, keeping only the most useful one may recover more room than any organizer.
15. End the day with a quick counter reset
After the last meal, return tools to their zone, wipe the prep area and move anything that wandered onto the counter. This need only take a few minutes if the drawers and cabinets have room for their assigned items. A small tray for the one or two objects that must stay out can define their boundary.
If the same items appear on the counter every day, take that as feedback. The storage destination may be too far away or too full. Adjust it rather than adding another catch-all basket. A workable system should make putting things away nearly as easy as leaving them out.
Storage ideas suitable for renters
Start with drawer dividers, freestanding risers, turntables and removable caddies. These require no permanent change and move with you. Over-shelf baskets and tension organizers can also work when properly sized. For hooks or rails, check the surface, load limit and lease terms; removable adhesive can still damage paint or fail in humid conditions.
Measure carefully before purchasing a cart. A rolling cart can be useful beside a kitchen, but only if it does not narrow a doorway or block cabinets. Sometimes the best renter-friendly improvement is editing duplicates and assigning a clear home to what remains.
Small kitchen organization mistakes
Avoid moving clutter from the counter into an overfilled cabinet. You still need to be able to see, remove and replace things. Oversized containers can waste the gaps around pipes and shelves, while too many open shelves create more cleaning work. Keep categories broad enough that the system remains intuitive.
Do a final safety check after rearranging: cabinet doors should open fully, ventilation stays clear, cords do not cross walkways or hot areas, and combustible items stay away from the stove. A kitchen feels calmer when the worktop is useful, not merely bare. Begin with the counter item that gets in your way most often and build the rest of the system around that need.
Looking for more ideas? Browse our kitchen & bathroom stories.
Save to Pinterest